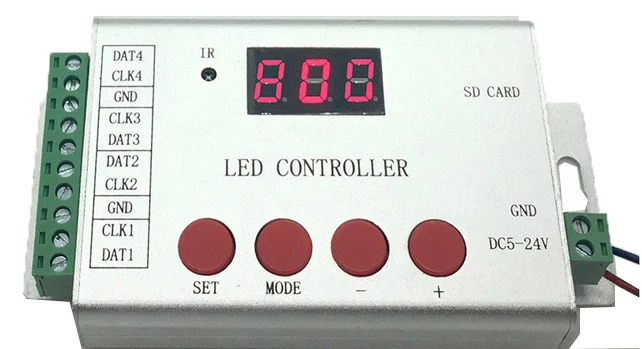
Remote RGB Controller LED Controller 4 Ports 6144 Pixels Lights IR Wireless Control DMX512 WS2811 WS2812 APA102 Led Strip H802SE


Remote RGB Controller LED Controller 4 Ports 6144 Pixels Lights IR Wireless Control DMX512 WS2811 WS2812 APA102 Led Strip H802SE
SPECIFICATIONS
Applicable Lights: LED pixel strip
Brand Name: BOOMROAD
Certification: ce,ROHS
Choice: yes
Connection Mode: Common Anode
Controled Method: Remote Controller
Features: IR Wireless Controller
High-concerned chemical: none
Is Smart Device: no
Item Type: RGB controler
Material: Metal
Max. Load Power: 6144 pixels
Model Number: H802SE
Origin: Mainland China
Oscillation frequency: 0
Power Source: DC
Remote Distance: 30m
Voltage: 5-24V
Warranty: 2years
Wattage: 2W
semi_Choice: yes
Pixel LED Controller 4 Ports 6144 Pixels Remote RGB Controller IR Wireless Remote Control DMX512 WS2811 WS2812 APA102 Led Strip
1. Features
(1). 4 ports drive maximum 6144 pixels.
(2). SD card supports FAT32 and FAT16 format.
(3). You can switch files, adjust brightness, set clock frequency and play speed by remote control or by four buttons.
(4). Set DMX address for TM512, UCS512 and other DMX512 chips.
2. Specifications
Input Voltage: DC 5~24V
Power Consumption: 0.8W
Control Pixels Number: 6144
Weight: 0.15KG
Dimension: L132 x W71 x H24
Carton Size: L150 x W82 x H38
3. Supported driver chips
LPD6803, LPD8806, LPD6813, LPD1882, LPD1889, LPD6812, LPD1883, LPD1886, DMX512, APA102, UCS6909, UCS6912,UCS1903, UCS1909, UCS1912, WS2811, WS2812, TM1803, TM1804, TM1809, TM1812, TM1829, TA9912, TM1913, TM1914, TM1926, WS2801, WS2803, DZ2809, P9813, P9816, SM16716, LD151x, LD153x, MBI6021, MBI6023, MBI6024, INK1003, LX1003, LX2003, LX2006, TLS3001, TLS3002, etc.
Note: H802SE supports more than the chips listed above(for example UCS2903 has the same sequence diagram with UCS1903, H802SE supports them all).
4. Product Display

GND, DAT: for WS2811, WS2812, UCS1903, SK6812, etc.
GND, CLK: for APA102, etc.
When you choose DMX512 in software, DAT and CLK turn to D+ and D-

Use remote control
Press "Encode" to enter step 2, use those digital buttons to set chip type.
Press "+" to enter step 3, set channel number with digital buttons.
Press "+" to enter step 4, set starting chip number with digital buttons.
Then press "confirm".
Remember to repower the lamps.


5. Basic Workflow
Assume you have 4 pcs individual 16*16 (pixels) WS2812 panel, and want to put them together to make a larger display.

Step 1: Use LED Build Software to program
LED Build Software download: https://drive.google.com/open?id=0B1gzqyV6hfOgN2pkMV8yMFozYzQ
LED Build Tutorial Video download: https://drive.google.com/open?id=0B1gzqyV6hfOgUnFjeG9EM3VRZjA
Video especially for H802SE download: https://drive.google.com/open?id=0B1gzqyV6hfOgMU9xNXZYLXUwVDA
(1). Place Pixels

(2). Light Setting

(3). Make Effects

Effect for each panel could be different

You can also import video


(4). Output controller data and put it into SD card

For more details, please refer to the video post above.
6. Set DMX address for DMX512 chips (TM512, UCS512, etc)
Connection:
UCS512

For other chips

Workflow:
Use buttoons
Step 1. Power controller on with or without SD card.
Step 2. Press "MODE", then press "+" or "-" to choose chip.
TM512 and UCS512: C01
DMX512AP: C03
SM1651x: C04
UCS512C: C06
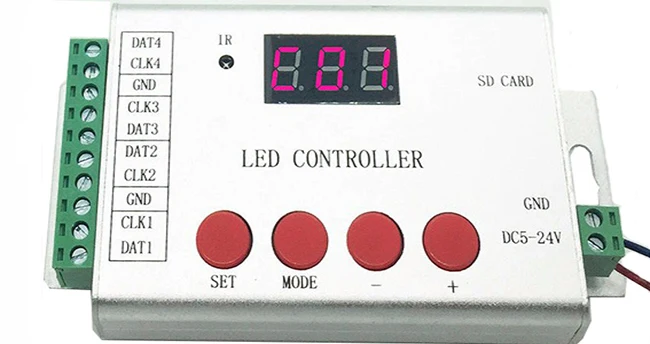
Step 3. Press "MODE" to set channel number occupied by each chip, press "+" or "-" to modify.
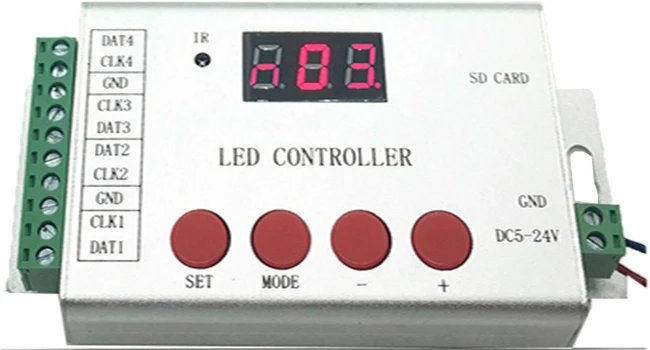
Step 4. Press "MODE", enter the starting chip number(which chip you want to start encoding with).
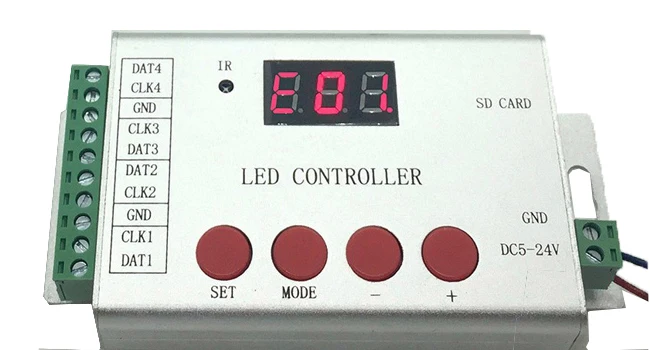
Step 5. Then press "SET". After a few seconds, UCS512 and TM512 lamp will turn white then green. Repower lamps, address will be updated.
H802SE can encode for 800 pixels each time.